
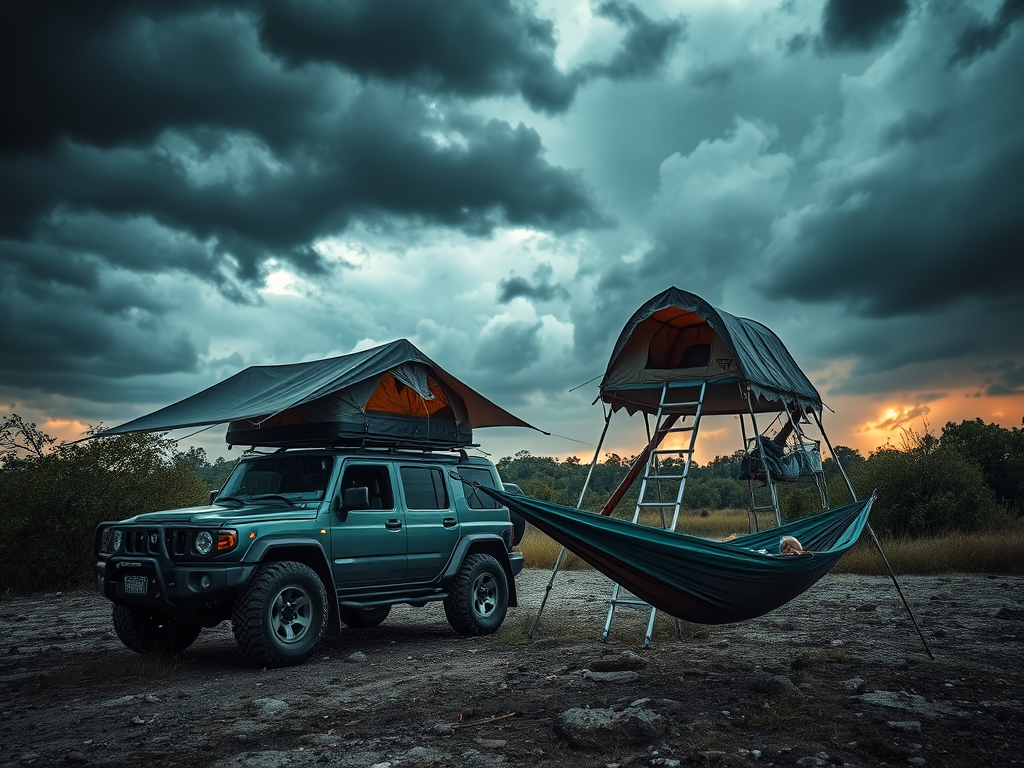
Because Mother Nature Doesn’t Wait for You to Find Your Tent Poles
When overlanding meets bushcraft, your shelter isn’t just where you sleep—it’s your first line of defense against exposure, fatigue, and the unexpected. And whether you’re fighting bugs, wind, rain, or post-hurricane humidity, the goal is always the same:
Stay dry, stay quick, stay alive.
🧭 What Makes a Great Shelter Setup?
✅ Fast to Deploy
When storms roll in or darkness falls, you need muscle memory and minimal fuss.
✅ Safe in Sketchy Weather
Your shelter should handle wind shear, heavy rain, and loose Florida sand without failing.
✅ Adaptable to Terrain
Swamp, pine scrub, coastal hammock—Florida demands flexibility.
🛠️ Jeff’s Go-To Shelter Systems
1. 🌧️ Bushcraft Tarp Shelter (10×10 Silnylon)
Perfect for: Solo travel, stealth camping, swamp edge setups
- Fast A-frame or plow-point setup with ridgeline + 4 stakes
- Groundsheet = waxed canvas or poncho
- Fire-reflector option in cold or wet
- Ventilates well in muggy conditions
⚙ Gear: Aqua Quest Defender tarp, dyneema guy lines, MSR Groundhog stakes
🔥 Pro Tip: Pre-tie guy lines with taut-line hitches. Store wrapped flat in a drybag with a ridgeline already attached.
2. 🌲 Rooftop Tent or Vehicle Awning + Bug Net Combo
Perfect for: Overland setups in trailhead pullouts, sandbars, or roadside rest stops
- Deploys in 3–4 minutes
- Elevated = away from flooding and critters
- Add a modular bug net room or tarp wall for privacy and cook shelter
⚙ Gear: CVT or Smittybilt rooftop tent + MoonShade or custom tarp awning
🔥 Pro Tip: Always face the ladder downwind. Use paracord tensioners for quiet tarp walls.
3. 🐜 Hammock + Tarp Shelter
Perfect for: Dense Florida pinewoods, river camps, or wet ground
- Ultra-fast with whoopie slings or daisy-chain straps
- Suspended = no worry about soggy ground
- Use integrated bug net + drip lines in high humidity
⚙ Gear: Warbonnet Blackbird XLC, SnakeSkins, 12’ hex tarp
🔥 Pro Tip: Add a small gear hammock or drybag sling under your main hammock to keep packs off wet ground.
4. 🌪️ Bushcraft Debris Shelter (Emergency Only)
Perfect for: No tent, no tarp, bad weather, and you need it now
- Frame = ridgepole + lean-to sticks + palm fronds or pine duff
- Takes 45–60 mins to build properly
- Best for teaching, survival scenarios, or practicing primitive skills
⚙ Gear: Folding saw, knife, bush hatchet
🔥 Pro Tip: Always leave a visual marker or GPS waypoint—debris shelters blend too well.
🌀 Florida Hurricane Survival Considerations
- Avoid low areas—flash floods come fast
- In high wind, ditch the trees and go low-profile
- Stake everything with backups (natural anchors, sandbags)
- Prep tarp tensioners that self-release in gusts—less damage
- Heatstroke is a real threat: ventilate, elevate, insulate
🧭 Jeff’s Shelter Setup Workflow
- Scan Site: Elevation, wind direction, widowmakers, slope
- Clear + Level: Remove debris, avoid anthills and roots
- Deploy Fast Shelter: Tarp or RTT first
- Add Comfort Systems: Bug net, ground cloth, thermal layers
- Water Management: Gutters, drip lines, drybag your sleep gear
- Fire Consideration: Leave 6–10 ft clearance if using open fire near tarp
🧰 Mini Shelter Kit You Should Always Carry
- 10×10 silnylon tarp
- 8 titanium stakes + 4 sand anchors
- 50’ of paracord or dyneema
- Groundsheet (mylar, canvas, or tyvek)
- Bug net or headnet
- Small saw + knife
- Emergency bivvy or wool blanket
💬 Final Thoughts
Shelter is freedom.
When you can confidently stop, drop, and camp in 5–10 minutes—on a beach, in a forest, or post-hurricane swamp—you own your environment.
📢 Call to Action
🌿 Want my downloadable “Shelter in 5: Quick-Deploy Templates”?
DM “SHELTER5” on Instagram @FloridaOATS or visit liquidrhythmkayaking.com

